Disassembling a Watch · II
I Dismantle the ST36.
I Dismantle the ST36.
2/15/20265 min read
I am currently writing directly from my shorthand notes. I realise I have so many observations about the disassembly that could be useful to others that they begin to feel a bit dense once I commit them to paper. So today, I am experimenting with short paragraphs. I want each one to focus on a specific tip or idea to help isolate and clarify them. With that in mind, let’s begin at the very start of my most recent adventure.
Before even touching a single screw, I did what I believe any beginner hobbyist should do: I watched a full YouTube tutorial on how to disassemble and reassemble the movement I was going to work on. I also took notes, carefully writing down the order in which parts needed to be removed.
After finishing this task, I sat down at the bench. My tools were laid out neatly, and like a pro, I rolled on my little finger cots. I chose not to set up a camera because there was already a detailed online video available if I ran into trouble.
The first problem I encountered arrived almost immediately. I could not for the life of me manage to open the ridiculous plastic container the ST36 had been shipped in. After about five minutes of frustration and a good deal of struggle, I discovered a small groove on the side and gently pried it open with my case knife. Truth be told, my grand vision of becoming a master watchmaker of some renown felt slightly ambitious in that moment.
Once freed from its packaging, I began by removing the hand placeholders, just as you would remove actual hands. A small success, but I was back on track. Then I turned my attention to the cannon pinion, and that is where the wheels came off the wagon again.
Removing it was far more difficult than I expected. I am still not sure whether it was unusually tight, but it would not budge. In the process, I slightly marred one of my more expensive tweezers. I sighed at the delay, forcing myself to stop working and first sand down the burrs to prevent scratching any parts.
Using hand removal tools and applying leverage from opposite sides, I slowly pried until it finally popped off. Fortunately, this was only a practice movement. I did scratch it slightly, but the stakes were low and a few marks were acceptable.
As I was working, I noticed a few tiny steel flakes from the tweezers and stopped immediately. I paused to inspect and blow the movement clean with the air blower. I also cleaned the bench again before continuing.
The rest of the disassembly went as planned without a hiccup, and I thoroughly enjoyed the 50 minutes I spent admiring the tiny screws and perfectly fitted parts that integrate so seamlessly together.
Reassembly, however, was slower and more fiddly. It took me two hours and ten minutes to put everything back together. I had to remain constantly cognisant of my frustration levels and remind myself that patience was an important part of becoming good at this. That mindset helped, especially when a pivot or screw refused to line up after several attempts.
Before reinstalling each part, I took the time to inspect it carefully for damage. I also made an effort to learn its shape, say its name out loud, and think about what I believed its function to be. My view is that you need to know the parts by heart if you want to work on watches.
When I finally placed the hairspring and its bridge back into position, everything looked right. But nothing happened. No movement. No sign of life. For a few seconds, I just stared at it. Had I missed something? Had I damaged it?
Then I gave the balance the slightest puff with the air blower, and it started up again. I was massively relieved and I have to confess, I made a little whoop-whoop sound.
That moment actually reminds me of going down a particularly scary water slide or perhaps a crazy roller coaster. Your scared at first, but as soon as it it ends, you immediately feel like you want to go again. That is exactly what it felt like to see that spring start up again.
While drafting this blog post and reflecting on what worked well and what I can improve next time, some key things stood out that I hope to keep in mind. The lessons I took from the experience are the ones I will share next.
Positioning the movement in the holder is more delicate than it seems. It is very easy to overtighten it. I did, and the movement stopped. I had a brief but very real moment of panic, convinced I had bent the balance before even removing the first screw. Fortunately, loosening the holder solved the issue.
I also found it helpful to always position the stem and crown opposite the tightening screw on the movement holder. Early on, I secured it at random angles. Because of the shifting orientation, the parts no longer went back the way I remembered taking them out. It may just be a beginner problem, but having the movement oriented the same way all the time made it easier to reassemble.
Selecting the correct screwdriver size also made a significant difference. While it is possible to loosen screws with a driver that is slightly too large or too small, doing so reduces my fine motor control. Once I started doing this, everything went in more smoothly and accurately.
Another small improvement came from orienting each screw properly on the bench before picking it up. If you grab the screw in the upright position with your tweezers, it can simply be released over its hole and allowed to settle into place. Otherwise, you end up awkwardly twisting your wrist mid-air to align it.
During reassembly, I made a habit of not fully tightening screws on bridges until I confirmed that the components beneath them moved freely. I would lightly secure them, test operation, and only then tighten them completely. I believe this played a large part in why the watch eventually worked again after disassembly.
One unexpected challenge was discovering that parts do not necessarily go back in the exact reverse order of disassembly. My plan had been to complete the entire process without revisiting the tutorial video, but I eventually needed to review a few sections to confirm the correct order.
Because of this discovery I promised myself never to disassemble a movement without filming it. As a beginner, the risk of forgetting orientation or sequence is too high. If I make a mistake on something more valuable, I would rather have a recording to review than having to call a professional for rescue.
I had to do that once with a dishwasher. The repairman had a good chuckle when he saw all the parts laid out on the kitchen floor. Fortunately, he was a professional and got it running again.
Finishing my first full disassembly and reassembly felt like a solid win. I now know that I can actually do this, and I can hardly wait to repeat the process. I plan on doing it a few more times this week.
Next week I will share a brief update on how the additional attempts went. However, the main focus of that post will be watchmaking courses, online tutorials, and what it takes to earn formal accreditation as a watchmaker.
Until next time...
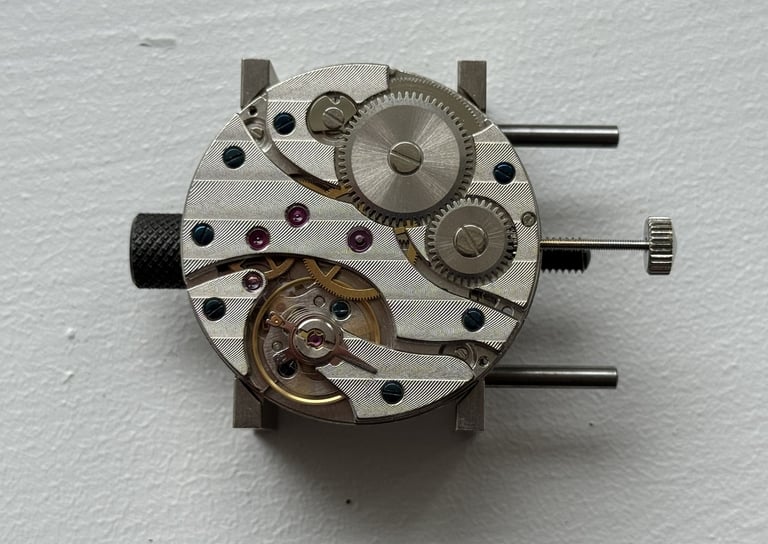
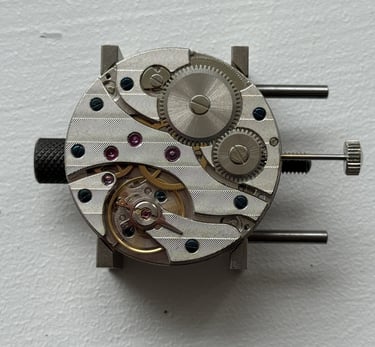
Image: "The Before Photo" By W. Bronkhorst
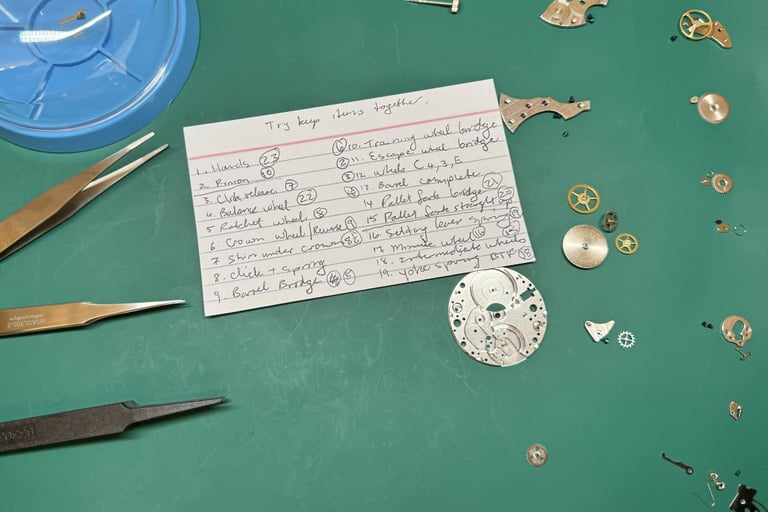
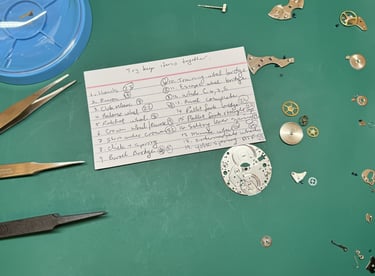
Image: "The After Photo" By W.Bronkhorst
Clip: "That Moment" by W. Bronkhorst
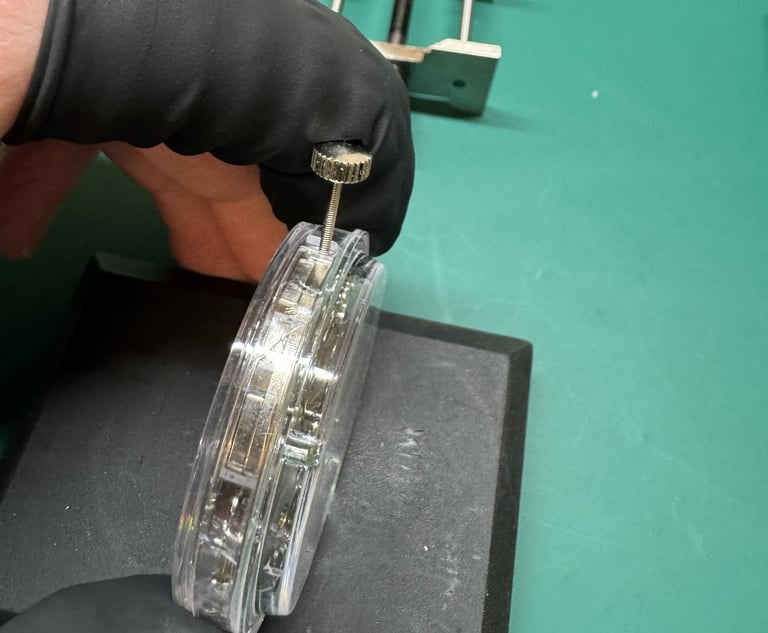
Image: "My Nemesis" By W. Bronkhorst
© 2025. All rights reserved.